Step-by-Step Guide to Assembling Your Kirby Vacuum
Published by
Brandon Dombard
on
You've invested in a Kirby vacuum — and you're excited to see its powerful cleaning abilities for yourself. But first, you'll need to put it together.
The Kirby assembling process is surprisingly simple and requires little equipment — just a Phillips head screwdriver. Additional accessories can be found online if needed.
A wealth of information is available in your owner's manual, but we've also compiled a simple guide so you can learn how to assemble a Kirby vacuum cleaner:
Connect the Parts for the Handle
The Kirby handle consists of two parts that need to be attached. The top part has a screw on its side that will need to be unscrewed. From there, simply slide the top part of the handle inside the bottom section.
Create a Latch for the Cord
Use the screw that was previously attached to the top portion of the handle to connect the top and bottom handle segments.
Attach the Handle to the Base
Connecting the vacuum's handle and base is easy: simply snap it into place. If completed correctly, this step will create a clicking sound.
Attach the Cord to the Handle
The cord should be attached near the back of the handle, where you'll find two small latches. Thread the cord through these to keep it secure. Then string it over the previously created latch at the upper side of the handle. Finally, wind the cord around this and the additional latch located directly below and on the vacuum's side.
Assemble the Hose Within the Bag
A hose should be attached to the bottom of the vacuum bag and extend through the bag. Attach the top of the hose to the tag situated at the top of the bag.
Attach the Bag to the Handle
The vacuum bag should click into place at the upper portion of the handle. The lower part of the bag will also need to be attached.
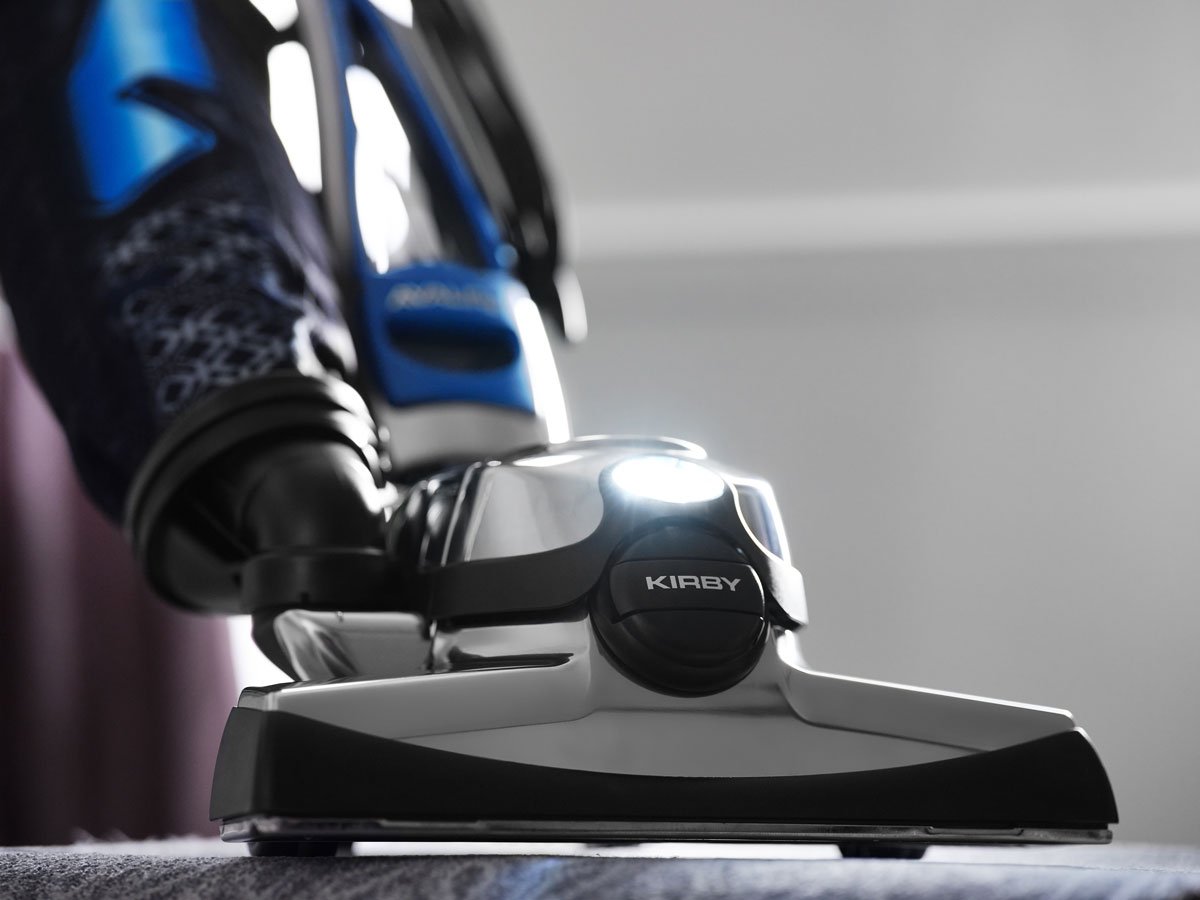
Attach the Head to the Unit
A few different methods make it possible to attach the cleaning head to the vacuum unit itself. Both involve lowering the toe-touch control to its lowest setting. This will raise the unit off the ground, giving you plenty of clearance to attach the head.
Option 1: Use the Attaching Bar
The first method utilizes the attaching bar on the front of the unit. There are two hooks on the head that can be rested on the bar, making it easy to fit the two pieces together. Once this is done, lock the head into place. The final step requires flipping out the handle of the belt lifter and turning it clockwise until the green arrows line up.
Option 2: Use the Wheels
Another way to attach the head is to use the Kirby vacuum's wheels to roll the two pieces into place. First, tilt the head up slightly while aligning the middle notch on the head with the shaft piece on the unit itself. Push the vacuum towards the head. The two pieces will line up in place. Lock the head into place and turn the belt lifter handle clockwise until the arrows line up.
Make the Most of Your Kirby Vacuum
Assembling a Kirby vacuum cleaner doesn't have to be complicated. Follow the simple steps outlined above, and you'll be rewarded with an indispensable cleaning tool that will keep your home looking pristine.